

Monetizing your Android application is a critical step in turning your hard work into a sustainable business. For most developers on the Google Play Store, this means implementing the Google Play Billing Library. It’s the official tool for selling digital products and subscriptions, from one-time power-ups in a game to monthly access to premium content.
On the surface, it seems straightforward: add a library, call a few functions, and start collecting revenue. However, the reality is far more complex. The “cost” of using the Google Play Billing Library isn’t a line item on an invoice from Google; it’s measured in development hours, complex debugging sessions, and the potential for lost revenue when things go wrong. This guide will explore the true, multifaceted cost of setting up, integrating, and maintaining this essential but notoriously tricky payments library.
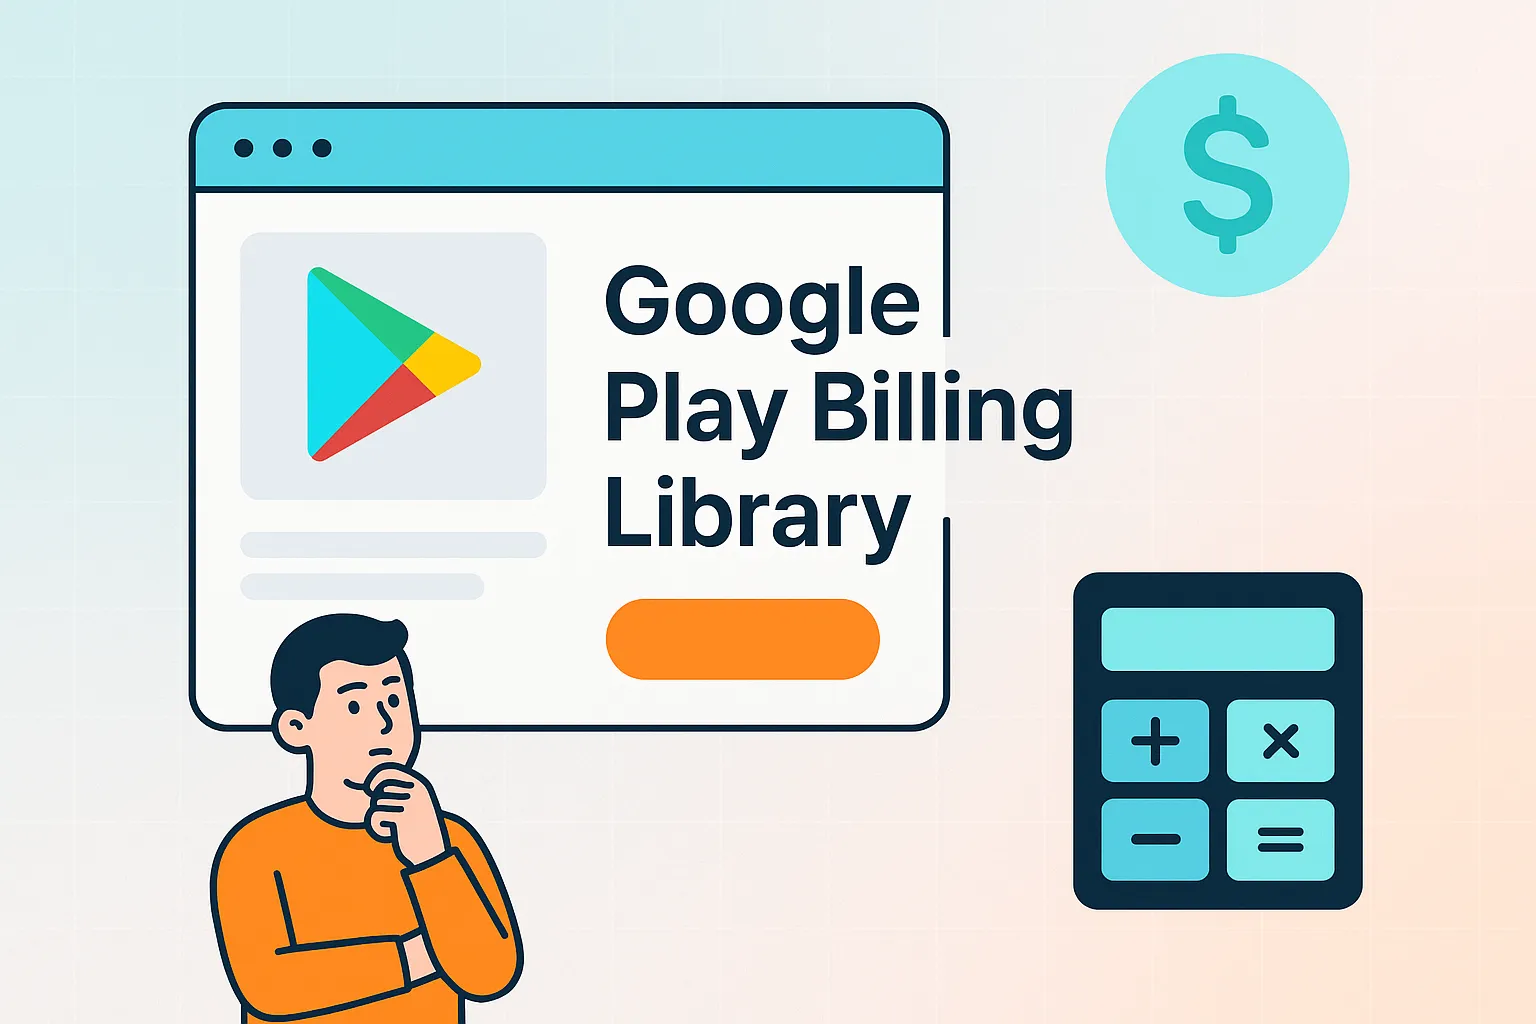
Introduction to Google Play Billing Library
The Google Play Billing Library is an API that allows you to sell digital content and subscriptions within your Android app. It acts as the bridge between your application and the Google Play Store’s payment infrastructure. When a user wants to make a purchase, your app uses the library to initiate the transaction, and Google handles the payment processing, displaying a familiar and trusted purchase screen to the user.
Key functions of the library include:
- Querying details of available products (including localized prices).
- Launching the purchase flow for users to buy items.
- Processing and verifying purchases to grant users access to their content.
- Managing subscriptions, including renewals, upgrades, and downgrades.
Google continuously updates the library to add new features and enhance security. As a result, they mandate that developers keep their apps up-to-date. For instance, by August 31, 2025, all new apps and app updates must use Billing Library version 7 or newer. This underscores the ongoing maintenance required to simply remain compliant.
How Much It Costs to Use Google Play Billing Library
When discussing the cost of a service, the first question is usually about fees. Does Google charge a license fee to use the Billing Library? Based on the official documentation, there is no direct cost associated with using the Google Play Billing Library itself. You can add the dependency to your project without paying a fee.
However, this is where a critical distinction must be made. The library is free, but the cost of implementation is not. The true costs are “hidden” in the resources required to do it correctly:
- Development Time: The hours your engineering team spends reading documentation, writing code, testing, and debugging.
- Complexity Cost: The architectural overhead of building a robust system that can handle the library’s asynchronous nature and unpredictable error states.
- Maintenance Cost: The ongoing effort to update to new library versions, adapt to policy changes, and handle issues that arise on specific devices or Android versions.
- Opportunity Cost: The time your team spends wrestling with billing integration is time they are not spending on developing core features for your business.
The real question isn’t “How much does the library cost?” but rather “What is the total investment required to build and maintain a reliable in-app purchasing system?”
What Goes Into Integrating Google Play Billing Library Into an App
Integrating the Billing Library is not a simple, plug-and-play task. It is a multi-step process that requires careful attention to detail at every stage. A single misstep can lead to failed transactions, users not receiving their purchases, or a vulnerable system susceptible to fraud. Here is a detailed breakdown of the integration journey.
Phase 1: Preparation and Configuration
Before writing a single line of code, you must lay the groundwork.
- Documentation Review: Developers must thoroughly read the Play Console Help Center documentation to understand critical concepts like one-time products, subscriptions, base plans, and offers.
- Google Play Console Setup: You need to configure your products for sale in the Google Play Console. This involves creating product IDs, setting prices, and defining subscription rules. This step must be done correctly for the library to find and display your products.
- Project Setup: This is the first technical step. You must add the Google Play Billing Library dependency to your app’s
build.gradlefile.
For Java developers, the dependency looks like this:
implementation "com.android.billingclient:billing:$billing_version"For Kotlin developers, it is highly recommended to also include the KTX module, which provides helpful Kotlin extensions and coroutines support, making the code cleaner and more manageable.
implementation "com.android.billingclient:billing-ktx:$billing_version"Phase 2: Initializing and Connecting the BillingClient
The BillingClient is the central component of the library. It’s the main interface for all communication with Google Play’s billing system.
- Instantiate the BillingClient: You create an instance of the client using
BillingClient.newBuilder(). It’s crucial to have only one activeBillingClientconnection at a time to prevent multiple, confusing callbacks for a single purchase event.val purchasesUpdatedListener = PurchasesUpdatedListener { billingResult, purchases -> // To be implemented in a later section. } var billingClient = BillingClient.newBuilder(context) .setListener(purchasesUpdatedListener) .enablePendingPurchases() .build() - Set a Listener: When building the client, you must attach a
PurchasesUpdatedListener. This listener is the designated recipient for updates on all purchases made in your app, whether they succeed, fail, or are canceled. - Establish a Connection: The connection process is asynchronous. You must call
startConnection()and provide aBillingClientStateListenerto be notified when the client is ready to use.billingClient.startConnection(object : BillingClientStateListener { override fun onBillingSetupFinished(billingResult: BillingResult) { if (billingResult.responseCode == BillingClient.BillingResponseCode.OK) { // The BillingClient is ready. You can query purchases here. } } override fun onBillingServiceDisconnected() { // Try to restart the connection on the next request to // Google Play by calling the startConnection() method. } }) - Implement Retry Logic: This is a critical and often underestimated step. The connection to Google Play can be lost at any time. Your app must override the
onBillingServiceDisconnected()method and implement a robust retry mechanism (e.g., an exponential backoff strategy) to re-establish the connection. Failure to do so will result in your app being unable to make any billing requests. It’s strongly recommended to initiate the connection when your app launches or comes to the foreground and to end it when the app closes.
Phase 3: Querying and Displaying Products
Once connected, you can’t simply show a “Buy Now” button. You must first query Google Play to get the exact, localized details for the products you want to sell.
- Query for Details: You call
queryProductDetailsAsync()(or thequeryProductDetails()coroutine extension for Kotlin). This method takes aQueryProductDetailsParamsobject, which specifies a list of product IDs and the product type (ProductType.INAPPfor one-time products orProductType.SUBSfor subscriptions). - Handle the Response: The result is delivered asynchronously to a
ProductDetailsResponseListener. The results are returned as aListofProductDetailsobjects. Each object contains localized information like the product’s title, description, and, most importantly, the formatted price string (e.g., “$4.99”). - Check User Eligibility: Before offering a product, you should check if the user already owns it. For consumable items, you must ensure the user has “consumed” the previous one before they can buy it again. For subscriptions, the query result from
queryProductDetailsAsync()automatically filters offers and only returns those for which the user is eligible. This is a crucial step to prevent user confusion and errors during the purchase flow. - Avoid Caching: It is not recommended to cache
ProductDetailsobjects. Pricing and offer eligibility can change, and using stale data can cause the purchase flow to fail. Always query for fresh details before showing products to a user.
Phase 4: Launching the Purchase Flow
With the ProductDetails object in hand, you can now invite the user to make a purchase.
- Call
launchBillingFlow(): This method must be called from the app’s main thread. It takes aBillingFlowParamsobject, which is built using theProductDetailsobject you just queried. - Handle the Result:
launchBillingFlow()returns aBillingResponseCode. AnOKcode means the purchase screen was successfully launched. Any other code indicates an error that prevented the flow from starting (e.g., the user already owns the item, the network is down). Your app must handle these error codes gracefully. - The Google Play Purchase Screen: If successful, the system presents the standard Google Play purchase sheet. Your app’s responsibility pauses here as the user interacts directly with Google’s UI.
- Receive the Outcome: Once the user completes or cancels the purchase, Google Play invokes the
onPurchasesUpdated()listener that you registered during initialization. This callback provides theBillingResultand a list ofPurchaseobjects. This is where your app’s logic for handling the outcome of the transaction begins.
Phase 5: Processing Purchases
A successful purchase is just the beginning of the post-transaction workflow. This is arguably the most critical part to get right for both user satisfaction and security.
- Verify the Purchase: Never trust a purchase callback from the client alone. A successful purchase generates a unique purchase token. Your app should securely send this token to your backend server. The backend must then use the Google Play Developer API to verify that the token is legitimate and hasn’t been used before. This is your primary defense against fraud.
- Check the Purchase State: Before granting any content, check that the purchase state is
PURCHASED. Some purchases may be in a `P