

If you’ve built an Android app, chances are you’ve thought about how to generate revenue from it. In-app purchases and subscriptions are the lifeblood of the modern app economy, turning innovative ideas into sustainable businesses. At the heart of this ecosystem on Android is the Google Play Billing Library, a powerful yet intricate payments library that enables developers to sell digital goods directly within their applications.
However, integrating this library is more than just adding a few lines of code. It involves a complex dance of client-side requests, server-side verification, and robust error handling to manage the myriad of edge cases that arise in the real world. This comprehensive guide will walk you through what the Google Play Billing Library is, how it works, and its various use cases. We’ll also pull back the curtain on the significant, often undocumented challenges of implementation and explain how partnering with an experienced development agency like us can make all the difference.
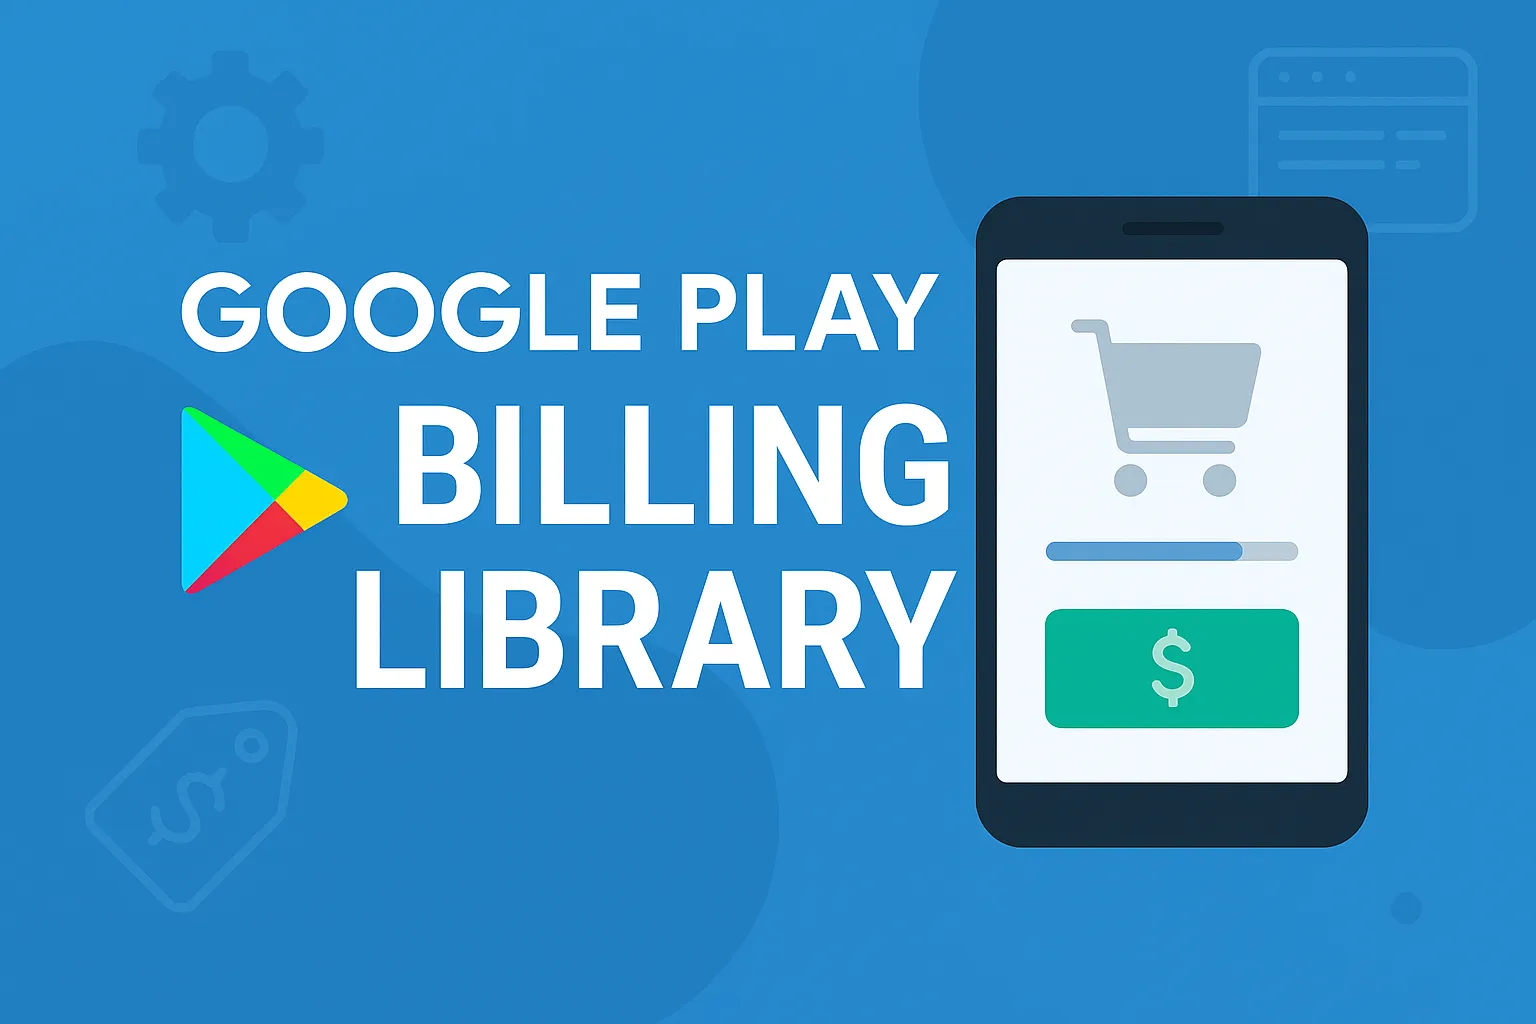
Introduction to Google Play Billing Library
The Google Play Billing Library is a service provided by Google that allows you to sell digital products and content in your Android app. It is the official and required method for processing transactions for digital goods on the Google Play Store. When a user wants to buy an extra life in a game, unlock a premium feature, or subscribe to monthly content, this library facilitates that entire process, from displaying the product to securely processing the payment.
The library is designed to streamline the purchase flow, which typically involves these key steps:
- Showing the user what they can buy.
- Launching the Google Play purchase flow for the user to accept the purchase.
- Verifying the purchase on a secure backend server to prevent fraud.
- Delivering the content or feature to the user.
- Acknowledging the delivery to finalize the transaction.
It supports several types of products to fit various business models:
- One-time products: These are purchased once. They can be non-consumable, like unlocking an ad-free version of the app, or consumable, like in-game currency that can be purchased repeatedly. For a user to buy a consumable item again, the previous purchase must first be “consumed” using the library.
- Subscriptions: These provide ongoing access to content or features for a recurring fee. Subscriptions renew automatically until they are canceled by the user.
It’s also important to note a critical deadline: by August 31, 2025, all new apps and app updates must use Google Play Billing Library version 7 or newer. While an extension can be requested until November 1, 2025, this mandate underscores the importance of staying current and correctly implementing the latest version of the library.
How Google Play Billing Library Works
To the user, an in-app purchase might seem like a simple tap of a button. Behind the scenes, the Google Play Billing Library orchestrates a detailed sequence of events between your app, the Google Play client on the user’s device, and Google Play’s backend servers. Understanding this flow is crucial for a successful integration.
Initialization and Connection
The entire process begins by integrating the library into your app and establishing a persistent line of communication with Google Play services.
-
Add the Dependency: The first technical step is adding the library dependency to your app’s
build.gradlefile. If you’re using Kotlin, it’s highly recommended to also include thebilling-ktxmodule, which provides helpful Kotlin extensions and coroutine support for asynchronous operations. -
Initialize
BillingClient: TheBillingClientis the central component of the library. It acts as the main interface for all communication between your app and the Google Play billing system. You create an instance ofBillingClientusingBillingClient.newBuilder. It’s a best practice to:- Use an application context to prevent memory leaks.
- Maintain only one active
BillingClientconnection at a time to avoid receiving duplicate callbacks for a single purchase event. - Set a
PurchasesUpdatedListenerby callingsetListener(). This listener is critical as it receives the results of all purchase operations initiated by your app.
-
Establish a Connection: After creating the
BillingClient, you must connect it to Google Play by calling the asynchronousstartConnection()method. Because the connection process isn’t instantaneous, you must implement aBillingClientStateListener. This listener’sonBillingSetupFinished()callback notifies your app when the client is successfully connected and ready to make billing requests.
Handling Disconnections and Errors
A stable connection is not guaranteed. A user’s device can lose internet, or the Google Play service can become temporarily unavailable. Your app must be resilient to these interruptions.
- Retry Logic: It is strongly recommended to implement a custom retry logic. The
BillingClientStateListenerhas anonBillingServiceDisconnected()callback. When this is triggered, your app should attempt to re-establish the connection by callingstartConnection()again, ideally with an exponential backoff strategy to avoid spamming the service. - Error Codes: The library communicates errors via a
BillingResultobject, which contains aBillingResponseCodeand a debug message. For example, if you receive aSERVICE_DISCONNECTEDerror, it’s a clear signal that you need to re-initiate the connection before making any further requests.
The Purchase Flow in Detail
Once your BillingClient is connected, you can begin the process of selling your products.
1. Querying for Available Products
You don’t hardcode product prices or details into your app. Instead, you fetch them directly from Google Play. This ensures the information is always up-to-date and localized for the user.
- You call
queryProductDetailsAsync(), passing it aQueryProductDetailsParamsobject. This object specifies a list of product ID strings (which you define in the Google Play Console) and aProductType(ProductType.INAPPfor one-time products orProductType.SUBSfor subscriptions). - The result is delivered asynchronously to a
ProductDetailsResponseListener. The query results are returned as aListofProductDetailsobjects. - Each
ProductDetailsobject contains localized information about a product, such as its title, description, and price. For subscriptions, it also includes details about available offers the user is eligible for.
A few important considerations here:
- Before offering a product, you should check if the user already owns it. For consumables, the user must consume a previous purchase before buying it again. For subscriptions, you should verify the user isn’t already subscribed.
- It’s not recommended to cache the
ProductDetailsobjects for long periods, as using stale information can cause the purchase flow to fail. - On some older devices, certain features like subscriptions might not be supported. You can check for this beforehand by calling
isFeatureSupported().
2. Launching the Purchase Flow
With the ProductDetails object for the desired item in hand, you can initiate the purchase.
- From your app’s main thread, you call
launchBillingFlow(). - This method requires a
BillingFlowParamsobject, which you build using theProductDetailsobject retrieved in the previous step. For subscriptions, this is where you specify which offer the user has selected by providing its offer token. - If
launchBillingFlow()returns aBillingResponseCodeofOK, it means the purchase flow was successfully initiated. The Google Play purchase screen will then appear, overlaying your app’s UI. This screen handles all the user-facing elements like payment method selection and password entry, providing a familiar and secure experience.
3. Processing the Purchase
After the user completes or cancels the purchase on the Google Play screen, Google delivers the result back to your app.
- The result is sent to the
onPurchasesUpdated()method of thePurchasesUpdatedListeneryou defined duringBillingClientinitialization. - Your implementation of this method must handle all possible outcomes, including success, user cancellation (
USER_CANCELED), and other errors. - A successful purchase generates a purchase token—a unique string that represents the user’s entitlement to that specific product. It’s strongly recommended that your app passes this token to a secure backend server. Your server can then use the Google Play Developer API to verify the purchase’s legitimacy, protecting against fraud.
- The user also receives an email receipt from Google containing a unique Order ID, which you can use to manage refunds in the Google Play Console.
4. Finalizing the Transaction
Just because a purchase is successful doesn’t mean the work is done. You must notify Google that you have processed the purchase. This prevents the user from being refunded automatically after a few days. The method for doing this depends on the product type:
- For non-consumable products and subscriptions: You must acknowledge the purchase. This is done by calling
acknowledgePurchase(). - For consumable products: You must consume the purchase by calling
consumeAsync(). This removes the item from the user’s entitlements, allowing them to purchase it again.
This entire flow, from initialization to acknowledgement, must be implemented carefully to ensure a smooth, reliable, and secure purchasing experience for your users.
How to Use Google Play Billing Library
Now that we’ve covered the conceptual flow, let’s walk through the practical steps of integrating the Google Play Billing Library into an Android app. The code examples referenced use version 7.1.1.
Step 1: Add the Dependencies
In your module-level build.gradle or build.gradle.kts file, add the necessary dependencies.
For Groovy (build.gradle):
def billing_version = "7.1.1"

implementation "com.android.billingclient:billing:$billing_version"
// For Kotlin users
implementation "com.android.billingclient:billing-ktx:$billing_version"
For Kotlin (build.gradle.kts):
val billing_version = "7.1.1"

implementation("com.android.billingclient:billing:$billing_version")
// For Kotlin users
implementation("com.android.billingclient:billing-ktx:$billing_version")
Step 2: Initialize the BillingClient
In your activity or a dedicated billing manager class, initialize your BillingClient. This should happen early in your app’s lifecycle, for instance in onCreate().
// PurchasesUpdatedListener that you implement
private val purchasesUpdatedListener = PurchasesUpdatedListener { billingResult, purchases ->
    // To be implemented in a later section.
}

private lateinit var billingClient: BillingClient

// In your Activity's onCreate() or equivalent initialization logic
billingClient = BillingClient.newBuilder(context)
    .setListener(purchasesUpdatedListener)
    .enablePendingPurchases()
    .build()
enablePendingPurchases() is crucial for supporting forms of payment that are not instantaneous, such as cash or bank transfers.
Step 3: Connect to Google Play
Once the client is built, establish the connection. It’s recommended to initiate the connection when your app is launched or comes to the foreground.
billingClient.startConnection(object : BillingClientStateListener {
    override fun onBillingSetupFinished(billingResult: BillingResult) {
        if (billingResult.responseCode ==  BillingClient.BillingResponseCode.OK) {
            // The BillingClient is ready. You can query purchases here.
            // It's recommended to query for existing purchases.
            queryPurchasesAsync()
        }
    }
    override fun onBillingServiceDisconnected() {
        // Try to restart the connection on the next request to
        // Google Play by calling the startConnection() method.
        // Implement your own retry logic here.
    }
})
You must implement retry logic in onBillingServiceDisconnected() to handle connection losses gracefully.
Step 4: Show Products to Users
When the connection is established, query for the products you want to sell.
val queryProductDetailsParams =
    QueryProductDetailsParams.newBuilder()
        .setProductList(
            listOf(
                QueryProductDetailsParams.Product.newBuilder()
                    .setProductId("premium_upgrade")
                    .setProductType(BillingClient.ProductType.INAPP)
                    .build(),
                QueryProductDetailsParams.Product.newBuilder()
                    .setProductId("monthly_subscription")
                    .setProductType(BillingClient.ProductType.SUBS)
                    .build()
            )
        )
        .build()

billingClient.queryProductDetailsAsync(queryProductDetailsParams) {
    billingResult, productDetailsList ->
        // check billingResult
        // process returned productDetailsList
        // and display to user
}
If you’re using the KTX library, you can use the queryProductDetails() suspending function within a coroutine for cleaner code.
Step 5: Launch the Purchase Flow
When a user taps a “buy” button, construct the BillingFlowParams and launch the flow.
// productDetails is the object retrieved from the previous step
val productDetailsParamsList = listOf(
    BillingFlowParams.ProductDetailsParams.newBuilder()
        .setProductDetails(productDetails)
        // For subscriptions, set the offer token
        // .setOfferToken(offerToken)
        .build()
)

val billingFlowParams = BillingFlowParams.newBuilder()
    .setProductDetailsParamsList(productDetailsParamsList)
    .build()

// Launch the billing flow
val billingResult = billingClient.launchBillingFlow(activity, billingFlowParams)

// Check billingResult.responseCode
Step 6: Process Purchases
This is the most critical part of the integration. Your PurchasesUpdatedListener must securely handle the results.
private val purchasesUpdatedListener = PurchasesUpdatedListener { billingResult, purchases ->
    if (billingResult.responseCode == BillingClient.BillingResponseCode.OK && purchases != null) {
        for (purchase in purchases) {
            // A new purchase has been made.
            // Verify the purchase on your backend server.
            // After verification, grant entitlement and then finalize the transaction.
            handlePurchase(purchase)
        }
    } else if (billingResult.responseCode == BillingClient.BillingResponseCode.USER_CANCELED) {
        // Handle an error caused by a user cancelling the purchase flow.
    } else {
        // Handle any other error codes.
    }
}
Remember, onPurchasesUpdated can be triggered not only by your app’s purchase flow but also by out-of-app purchases (like redeeming a promo code). That’s why it’s also critical to call queryPurchasesAsync() when your app starts or resumes—it fetches any purchases made while your app was inactive.
Step 7: Acknowledge or Consume the Purchase
After your backend has verified the purchase and you’ve granted the user their content, you must finalize the transaction on the client.
// Inside your handlePurchase method, after verification
if (purchase.purchaseState == Purchase.PurchaseState.PURCHASED) {
    if (!purchase.isAcknowledged) {
        val acknowledgePurchaseParams = AcknowledgePurchaseParams.newBuilder()
            .setPurchaseToken(purchase.purchaseToken)
            .build()
        billingClient.acknowledgePurchase(acknowledgePurchaseParams) { billingResult ->
            // Handle acknowledgement result
        }
    }
}
For a consumable product, you would call consumeAsync() instead of acknowledgePurchase().
Use Cases for Google Play Billing Library
The library is versatile and supports a wide range of monetization strategies for app developers.
- Selling Digital Goods: This is the primary use case. You can sell one-time enhancements like unlocking a pro version, removing ads, or providing cosmetic items in a game. You can also sell consumables like in-game currency, hints, or extra lives.
- Implementing Subscriptions: For apps that provide ongoing content or services, subscriptions are an ideal model. The library manages the entire subscription lifecycle, which includes various states you need to handle in your app.
| Subscription State | Description |
|---|---|
| Active | The user is in good standing and has access. |
| Cancelled | The user has cancelled but retains access until the current billing period ends. |
| In grace period | A payment failed, but the user still has access while Google retries the payment method. |
| On hold | The grace period ended with no successful payment. The user loses access while Google continues to retry. |
| Paused | The user has voluntarily paused their subscription and does not have access. |
| Expired | The user has cancelled and their access period has ended. |
- Handling Pending Transactions: The library supports delayed forms of payment. By enabling pending transactions, your app can handle purchases where users choose to pay with cash at a participating convenience store. The purchase state remains `P